Compress Image to Specific KB: How to Hit Exact File Size Targets
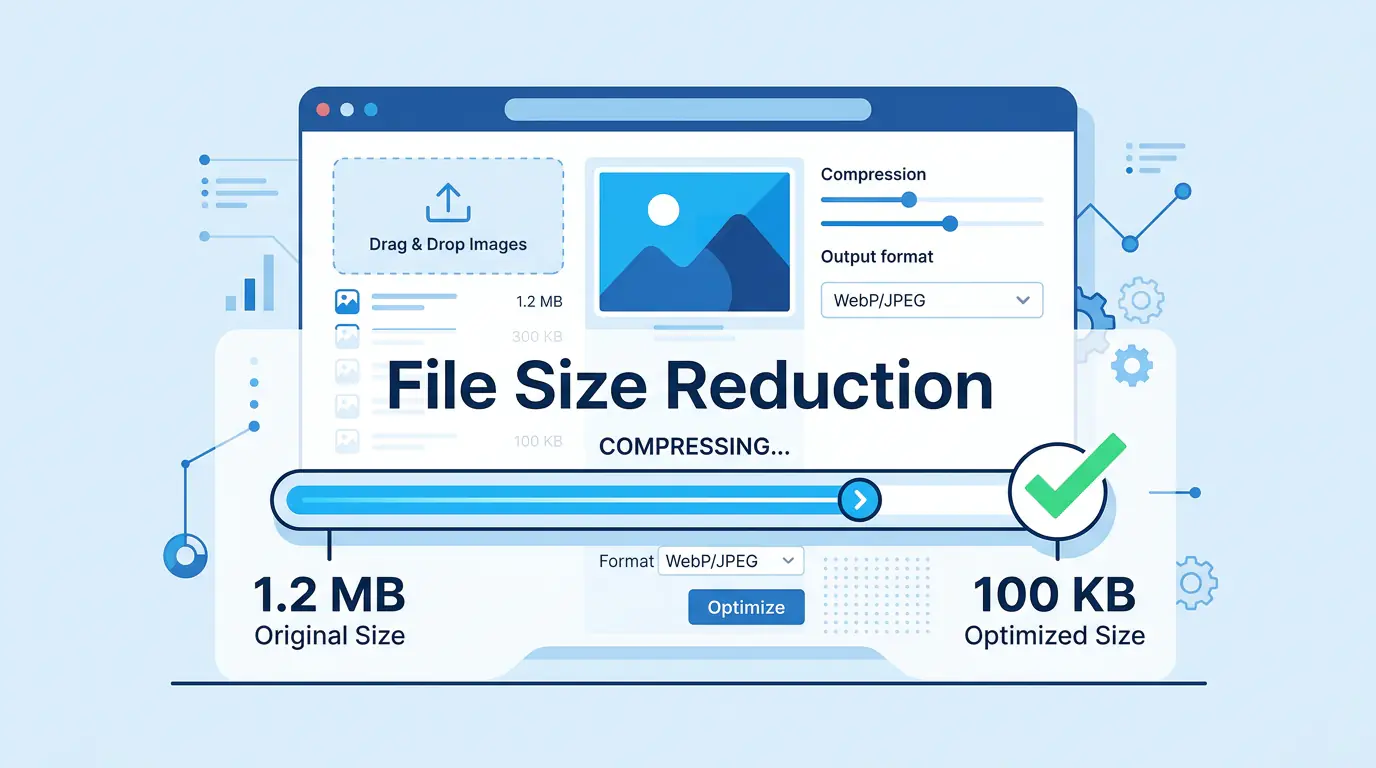
Some image compression tasks have a single clear objective: get the file under a specific number. Not "as small as possible" — exactly under 100KB for an email attachment, under 200KB for an ad platform upload, under 500KB for a CMS upload limit. Generic compression tools are designed for reducing file size in general. Hitting a precise image file size target requires understanding the variables that control output size and how to manipulate them deliberately.
This guide explains the exact approach to compress an image to a specific KB — whether that target is 100KB, 200KB, 500KB, or any other platform-defined limit — with a practical workflow you can repeat reliably.
Why Platforms Set Specific File Size Limits
Before getting into the how, it helps to understand why these limits exist — because the reason determines how strictly you need to hit the target.
Email platforms set attachment and inline image limits to prevent inbox storage exhaustion and ensure deliverability. Gmail's recommended inline image size is under 100KB. Many email marketing platforms — Mailchimp, Klaviyo, Campaign Monitor — enforce limits of 100KB to 200KB per image in template builders.
Ad platforms set upload limits based on their CDN infrastructure and page load targets. Google Display Network recommends images under 150KB. Meta (Facebook and Instagram) ads have format-specific limits typically between 30KB and 8MB, but performance best practice is under 200KB. LinkedIn sponsored content recommends images under 5MB but performs best under 300KB.
CMS and website platforms set upload limits to protect server storage and maintain consistent page performance. WordPress default maximum upload size is 2MB but many managed hosting environments enforce lower limits. Webflow and Squarespace have their own per-image guidelines.
Government and institutional forms often require document-embedded images under specific KB thresholds — 100KB or 200KB are the most common — for file size compliance during submission.
Knowing which category your target falls into tells you how precise you need to be. An ad platform limit of 150KB means you need to be reliably under that number. An email recommendation of "under 100KB" has more flexibility — 95KB and 80KB are equally acceptable.
The Variables That Determine Output File Size
To compress an image to a specific KB reliably, you need to understand the four variables that control output size. Changing any one of them affects the final file size.
1. Quality setting The most direct control. Lower quality = smaller file. The relationship is not linear — dropping from quality 90 to quality 80 produces a larger file size reduction than dropping from quality 80 to quality 70. The steepest size reductions happen between quality 85 and quality 60. Below quality 50, visible artefacts appear in most photographs.
2. Image format WebP produces smaller files than JPEG at equivalent quality — typically 25–35% smaller. AVIF produces smaller files than WebP — typically 20–50% smaller. If your image file size target is difficult to hit in JPEG without visible quality loss, switching to WebP at the same quality setting often achieves the target with no perceptible difference.
3. Image dimensions A 3000×2000px photograph contains 6 million pixels. A 1200×800px version of the same image contains 960,000 pixels — 84% fewer. Resizing to the actual display dimensions before compressing is the single most impactful step when trying to reduce image size to KB for a specific target. A 2MB photograph at full resolution can reach 150KB through a combination of resize and compression. The same photograph at full resolution compressed alone may struggle to reach 300KB without visible artefacts.
4. Metadata EXIF data — camera settings, GPS coordinates, timestamps, colour profiles — adds 10–50KB to most photographs. Stripping metadata during compression reduces file size with zero visible impact.
How to Compress an Image to 100KB
Compressing an image to 100KB is the most common specific target request. It is the threshold for most email marketing platforms, many ad specifications, and a large number of form-based upload systems.
The approach depends on the source image size:
Source image under 500KB — quality reduction alone is usually sufficient
- Open MeloTools image compressor
- Upload the image
- Start with the Balanced preset (quality 80)
- Check the output file size shown in the compression results
- If the output is above 100KB, drop to the Aggressive preset (quality 60)
- If still above 100KB, use the custom quality slider — try quality 45–50
- Download and verify the file size before using
For a 400KB JPEG source, quality 80 typically produces 160KB. Quality 60 typically produces 95KB — under the 100KB target. For a 300KB WebP source, quality 80 typically produces 130KB. Quality 70 typically produces 95KB.
Source image above 1MB — resize before compressing
A high-resolution photograph at 1MB or above rarely reaches 100KB through quality reduction alone without visible artefacts. The correct approach is to resize to the actual display dimensions first:
- Identify the maximum display width for the image (email column width, ad creative dimensions, form display size)
- Resize to that width before compression — a typical email column is 600px wide, a display ad is 300×250px or 728×90px
- Then compress to quality 70–80 — at the correct dimensions, this typically achieves the 100KB target with no visible quality loss
For most email images displayed at 600px width: resize to 600px wide, compress at quality 75, target output is 50–90KB depending on image complexity.
How to Compress an Image to 200KB
The 200KB target is less restrictive and achievable for most source images through quality reduction alone — even for high-resolution photographs.
For a typical 1.5MB JPEG photograph:
- Quality 80 (Balanced preset): approximately 600KB output
- Quality 60 (Aggressive preset): approximately 280KB output
- Quality 55 (custom): approximately 190KB output — under 200KB target
For a typical 1MB PNG graphic:
- Convert to WebP first using MeloTools image converter
- WebP at quality 80: approximately 350KB
- WebP at quality 70: approximately 180KB — under 200KB target
The format conversion step is worth doing whenever the JPEG quality needed to hit a target introduces visible artefacts. WebP at quality 75 frequently produces smaller files than JPEG at quality 60, with better visual output.
The Reliable Method: Iterative Compression Workflow
 The most reliable way to hit any specific KB target is an iterative approach — compress, check the output size, adjust, repeat. This is faster in practice than it sounds:
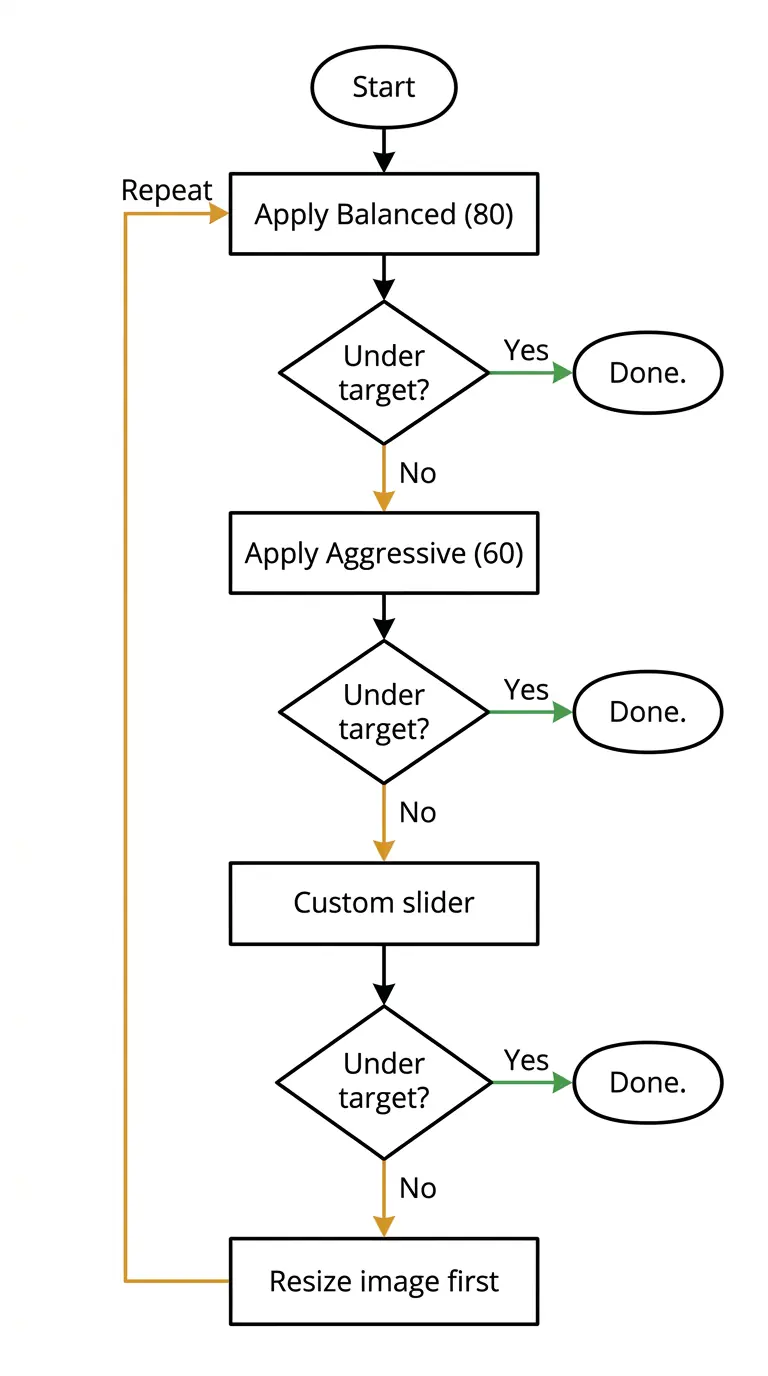
Round 1 — Apply a preset and check output Start with Balanced (80). If the output is already under your target, you are done. If not, proceed.
Round 2 — Apply Aggressive and check Drop to Aggressive (60). Check the output size again. If under target, download and use. If not, proceed.
Round 3 — Use the custom slider Use the custom quality slider to find the specific quality value that produces output just under your target. Work in increments of 5 — try quality 50, then 45, then 40 — until the output size drops below your target.
Round 4 — If quality is unacceptable, resize first If the quality level needed to reach the target produces visible artefacts, the image dimensions are too large for the target. Resize to the actual display dimensions and restart from Round 1. You will almost always hit the target at quality 70–80 after resizing.
With MeloTools image compressor, the compression results show the output file size after each compression run — so each round of this workflow takes under 30 seconds.
Platform-Specific File Size Targets Reference
| Platform / Use Case | Recommended limit | Reliable approach |
|---|---|---|
| Gmail inline images | Under 100KB | Quality 60–70 or resize to 600px wide |
| Mailchimp / Klaviyo | Under 200KB | Quality 70–80 |
| Google Display Network | Under 150KB | Quality 60–75 or convert to WebP |
| Meta (Facebook / Instagram) ads | Under 200KB | Quality 70–80 |
| LinkedIn sponsored content | Under 300KB | Quality 75–85 |
| WordPress (managed hosting) | Under 500KB | Quality 75–85 |
| Government / institutional forms | Under 100KB | Quality 55–65 or resize first |
| WhatsApp shared images | Under 200KB | Quality 70–80 |
For any platform not listed, the rule of thumb is: if the image is displayed at a known width, resize to that width and compress at quality 75. This hits most targets between 50KB and 300KB for typical photographic content.
Why the Quality Slider Matters More Than the Percentage
A common confusion when trying to reduce image size to KB is treating quality percentages as absolute measurements. Quality 80 does not produce a file 80% of the original size. Quality 80 means the encoder retains 80% of the image's quality data — the resulting file size depends on image complexity, dimensions, original compression, and format.
Two images at quality 80 can produce very different file sizes:
- A simple graphic with flat colours at quality 80: 45KB
- A high-resolution photograph with complex detail at quality 80: 350KB
This is why the iterative approach is necessary. The quality setting is a lever that produces different outputs depending on the source image — there is no universal formula that converts a quality setting to an exact output KB without knowing the source image characteristics.
The most time-efficient approach is to start with a preset, check the output, and adjust — rather than trying to calculate the correct quality value before compressing.
Frequently Asked Questions
Can I compress an image to an exact KB number?
You can get close to a specific KB target through iterative quality adjustment, but browser-based tools produce output sizes that vary by a few KB depending on the image content. In practice, "under 100KB" is achievable reliably. "Exactly 98KB" is not — and rarely required. Platform limits specify a maximum, not an exact target.
Does resizing an image reduce file size?
Yes, significantly. Resizing to the actual display dimensions before compressing is often more effective than quality reduction alone. An image displayed at 600px wide does not benefit from being stored at 3000px wide — the additional pixel data is only a file size cost with no display benefit.
What is the best format for hitting a small KB target?
WebP consistently achieves smaller file sizes than JPEG at equivalent visual quality — typically 25–35% smaller. If a JPEG cannot reach your KB target without visible artefacts, converting to WebP using MeloTools image converter and compressing at a slightly higher quality setting often hits the target with better output quality.
Does compressing the same image twice reduce the size further?
Compressing an already-compressed JPEG further reduces quality without proportional file size reduction. Each re-compression of a JPEG discards additional data permanently. For best results, always compress from the original source file rather than re-compressing a previously compressed output.
How do I know what file size my compressed image is?
MeloTools image compressor shows the original file size, compressed file size, and percentage reduction in the compression results panel for each image. Download and check the file properties to confirm the exact output size before using in a platform that enforces a specific limit. The complete guide to image compression without quality loss covers all compression variables in depth for teams that need to apply this systematically across large image libraries.